> For the complete documentation index, see [llms.txt](https://docs.protoboard.xyz/llms.txt). Markdown versions of documentation pages are available by appending `.md` to page URLs; this page is available as [Markdown](https://docs.protoboard.xyz/start-here/quickstart-10-minutes.md).

# Quickstart (10 minutes)

Build your first project (an Arduino Uno with a BME280 sensor) and run validation in under 10 minutes.

## Goal

By the end of this guide you will have a working Protoboard project with two real parts connected over I2C, a passing design rule check, and a bill of materials ready to export. The whole thing takes about ten minutes.

{% hint style="info" %}
**What you need:** A free Protoboard account. No hardware required; everything happens in the browser.
{% endhint %}

## What you are building

A simple environmental sensing setup: an **Arduino Uno Rev3** reading temperature, humidity, and pressure from a **BME280 sensor** over the I2C bus. This is one of the most common beginner hardware projects, and it is a great way to learn the Protoboard workflow.

***

## Steps

{% stepper %}
{% step %}

#### Create a new board

Open Protoboard and click the **Project menu** in the top-left corner of the top bar. Select **New Board**. Give your board a name. Something like "Arduino Weather Station" works fine.

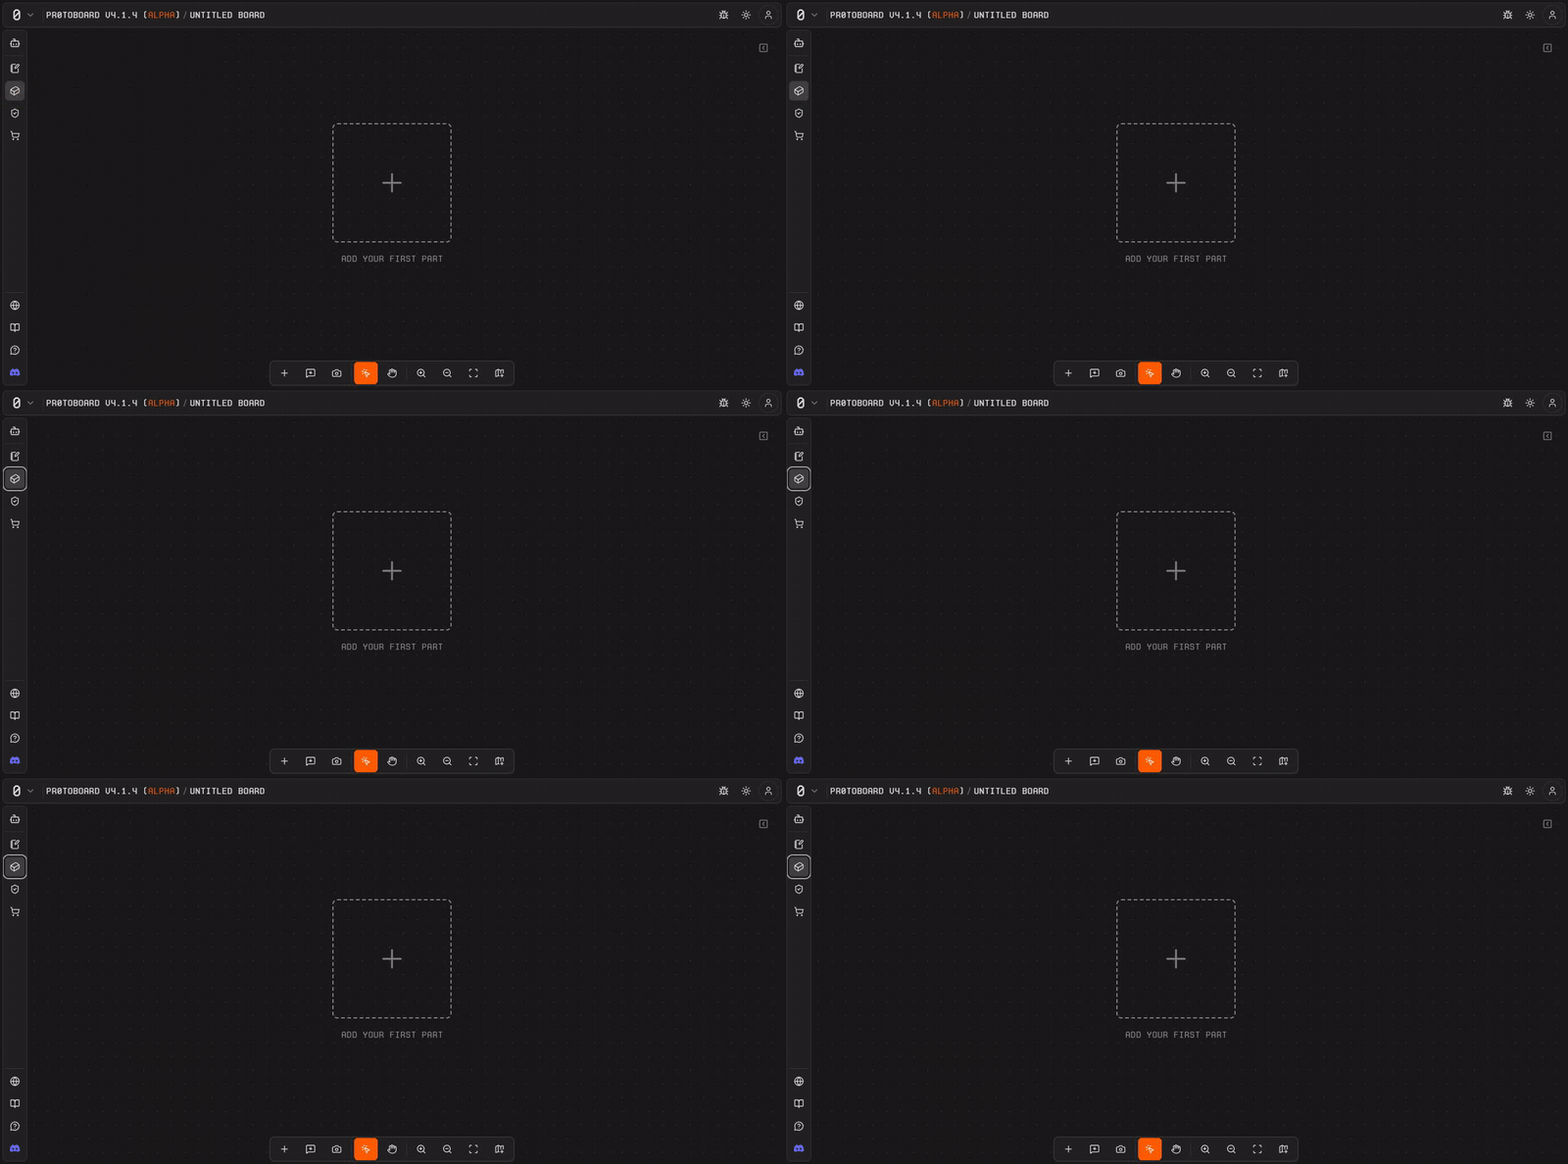
You will land on an empty **canvas**: an infinite 2D workspace with a dot grid where you will assemble your design.

<figure><img src="https://3535233690-files.gitbook.io/~/files/v0/b/gitbook-x-prod.appspot.com/o/spaces%2FHc6ZGiGpKHrs578383AS%2Fuploads%2Fgit-blob-d9218a0a6ce3eee80d8ba1373ec1d44943c3c9bb%2Fqs-empty-canvas.gif?alt=media" alt="An empty Protoboard canvas with dot grid and the Add Your First Part prompt"><figcaption><p>The empty canvas, ready for parts</p></figcaption></figure>

{% hint style="success" %}
**Tip:** You can rename your board at any time by clicking the board name in the top bar.
{% endhint %}
{% endstep %}

{% step %}

#### Add the Arduino Uno Rev3

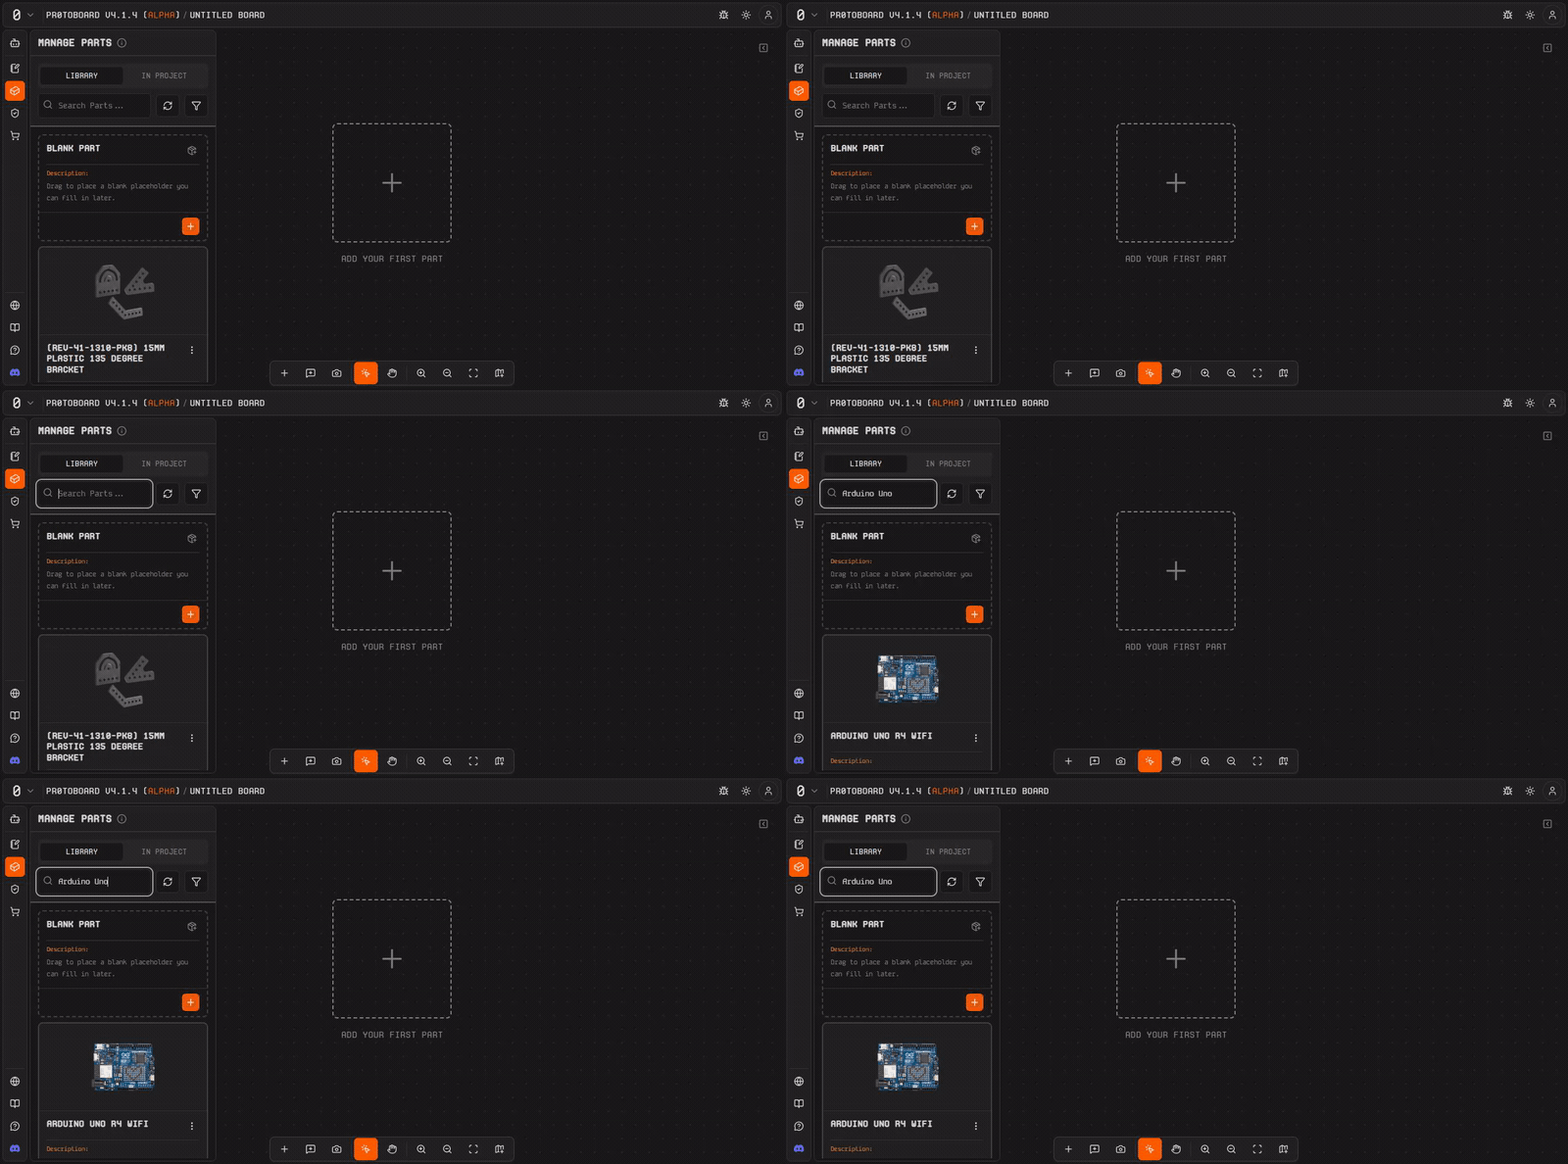
Open the **Parts Bin** by clicking the cuboid icon in the left activity bar. Type **"Arduino Uno"** in the search field. When the **Arduino Uno Rev3** appears in the results, drag it onto the canvas.

<figure><img src="https://3535233690-files.gitbook.io/~/files/v0/b/gitbook-x-prod.appspot.com/o/spaces%2FHc6ZGiGpKHrs578383AS%2Fuploads%2Fgit-blob-899c970521c80f4fd49a8cddfd48daea0aa1e26c%2Fqs-parts-bin-arduino.gif?alt=media" alt="Parts Bin sidebar showing Arduino Uno search results"><figcaption><p>Searching for Arduino Uno in the Parts Bin</p></figcaption></figure>

You should see the part appear on the grid. Click it once to select it, and the **Inspector** panel on the right will show its properties: interfaces, resources, and metadata.

<figure><img src="https://3535233690-files.gitbook.io/~/files/v0/b/gitbook-x-prod.appspot.com/o/spaces%2FHc6ZGiGpKHrs578383AS%2Fuploads%2Fgit-blob-0f1177923d3f85d4df593aeb7f6911a774ee4ddd%2Fqs-arduino-on-canvas.gif?alt=media" alt="Arduino Uno Rev3 placed on the Protoboard canvas"><figcaption><p>The Arduino Uno Rev3 on the canvas</p></figcaption></figure>
{% endstep %}

{% step %}

#### Add the BME280 sensor

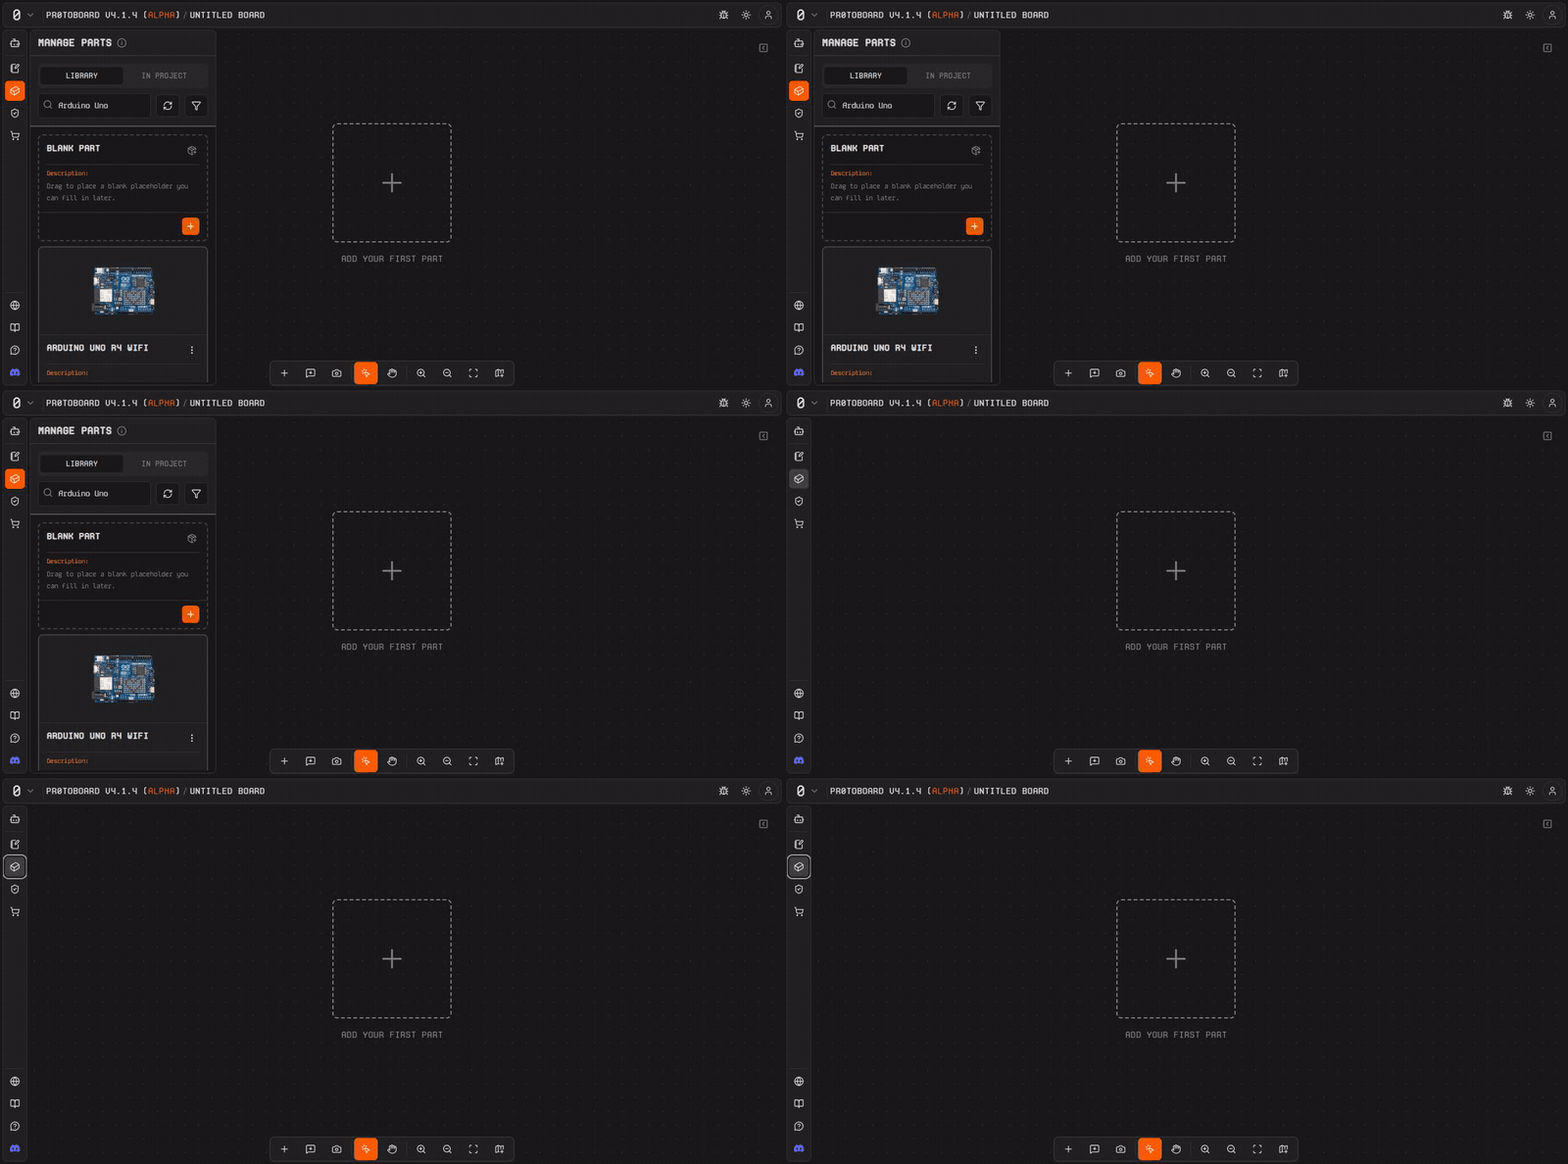
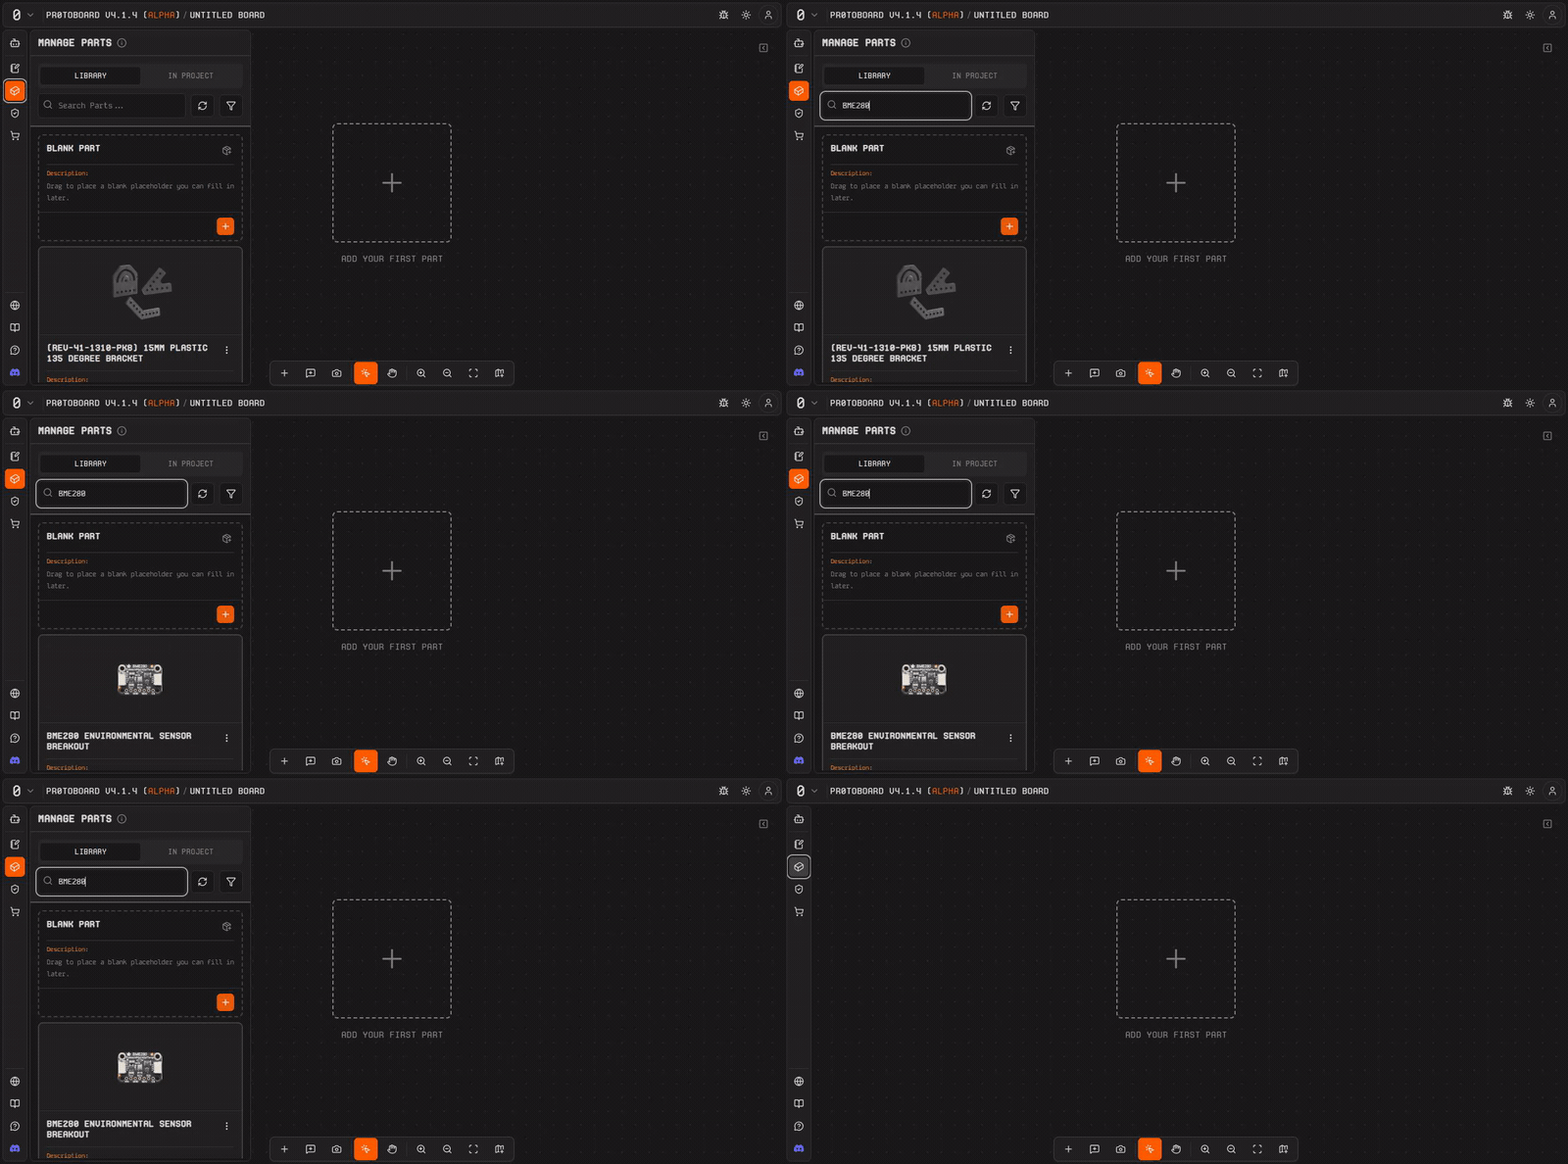
With the Parts Bin still open, clear the search and type **"BME280"**. Drag the **BME280** sensor onto the canvas near the Arduino.

<figure><img src="https://3535233690-files.gitbook.io/~/files/v0/b/gitbook-x-prod.appspot.com/o/spaces%2FHc6ZGiGpKHrs578383AS%2Fuploads%2Fgit-blob-4d1155db69e43ba0c387788ce818131710b141ee%2Fqs-both-parts.gif?alt=media" alt="Arduino Uno Rev3 and BME280 Sensor side by side on the canvas"><figcaption><p>Both parts placed on the canvas</p></figcaption></figure>

{% hint style="info" %}
**Placement tip:** Drop the BME280 to the right of the Arduino so you have room for the connection between them. The canvas supports snap-to-grid to keep things tidy.
{% endhint %}
{% endstep %}

{% step %}

#### Connect the two parts with a harness

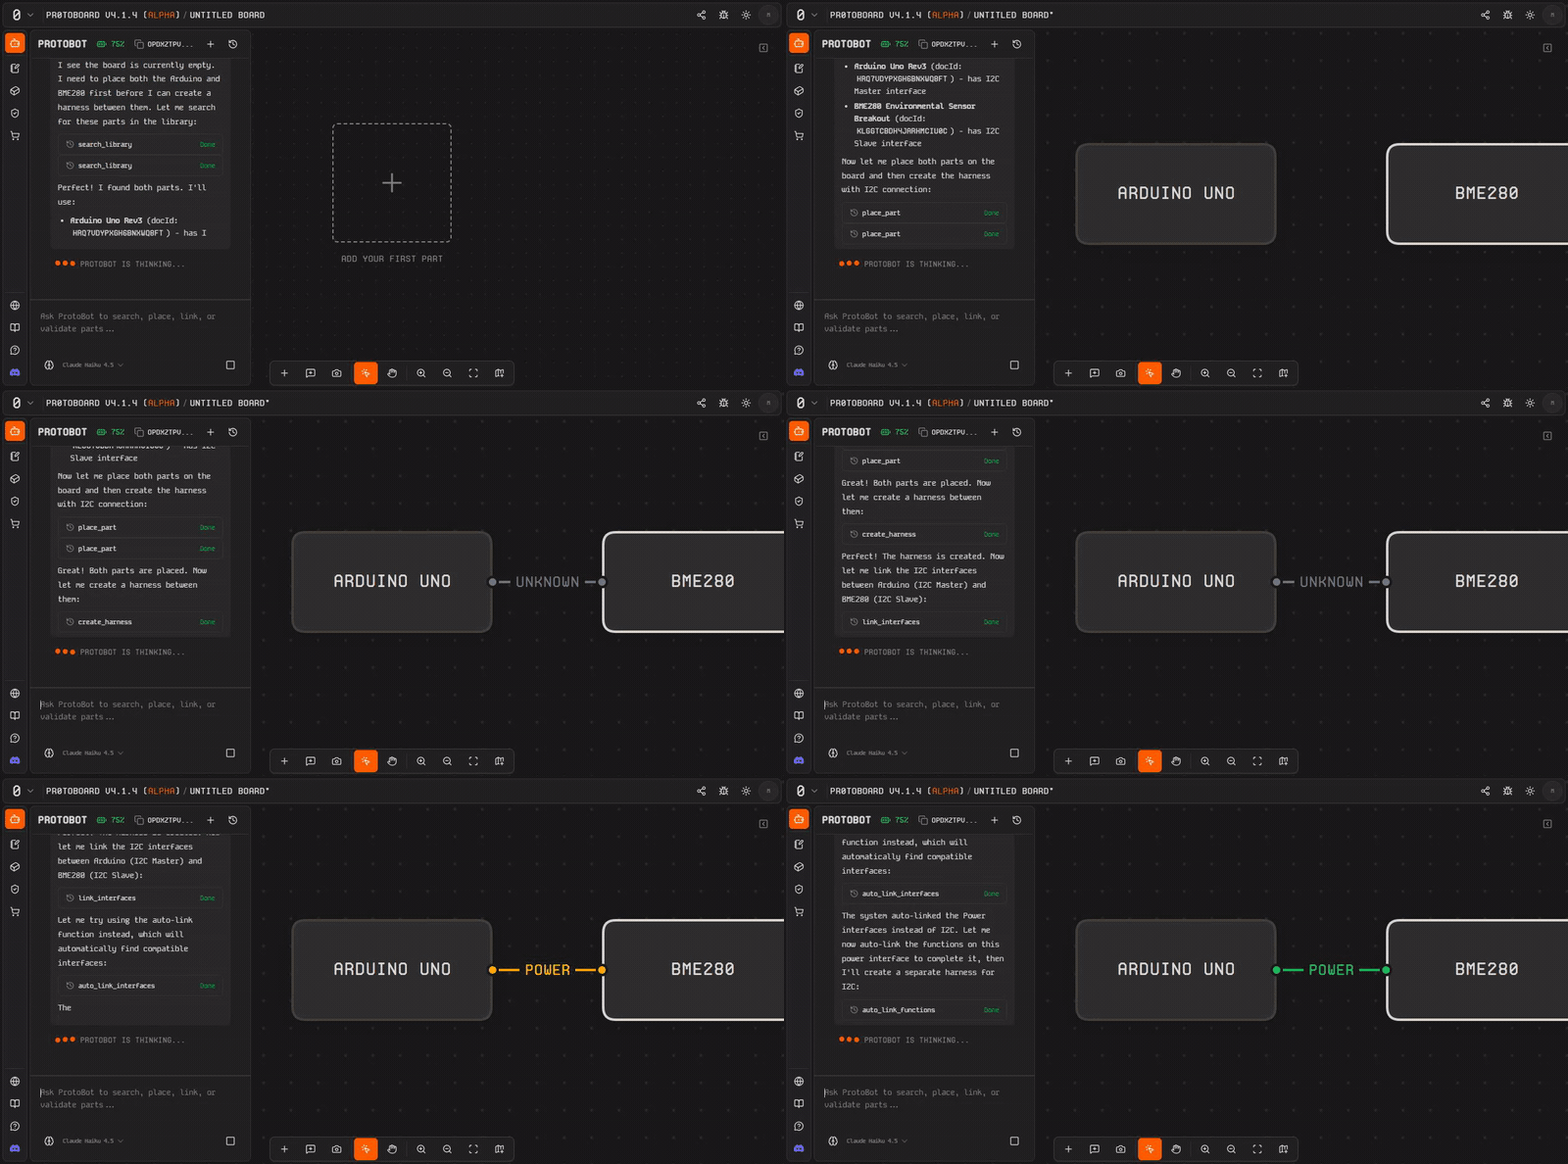
Hover near the edge of the Arduino part until a **connection handle** appears. Click and drag from the Arduino toward the BME280 to create a **harness**, the logical connection that carries one or more interface links between parts.

Protoboard auto-detects compatible interfaces. In this case it will find the **I2C** interface on both parts and propose a match. You can review the proposed interface link in the **Inspector** panel on the right side.

<figure><img src="https://3535233690-files.gitbook.io/~/files/v0/b/gitbook-x-prod.appspot.com/o/spaces%2FHc6ZGiGpKHrs578383AS%2Fuploads%2Fgit-blob-b64c2f709c48c6ec23f6f01cdcc3a15c343bfa07%2Fqs-harness-connected.gif?alt=media" alt="ProtoBot showing the I2C interface linked between Arduino and BME280 with SDA and SCL connected"><figcaption><p>I2C harness connected: SDA and SCL linked, status CONFIGURED</p></figcaption></figure>

{% hint style="info" %}
**What just happened?** The harness created an **interface link** pairing the I2C interface on the Arduino with the I2C interface on the BME280. Inside that link, individual **function links** map signals like SCL, SDA, VCC, and GND between the two parts.
{% endhint %}
{% endstep %}

{% step %}

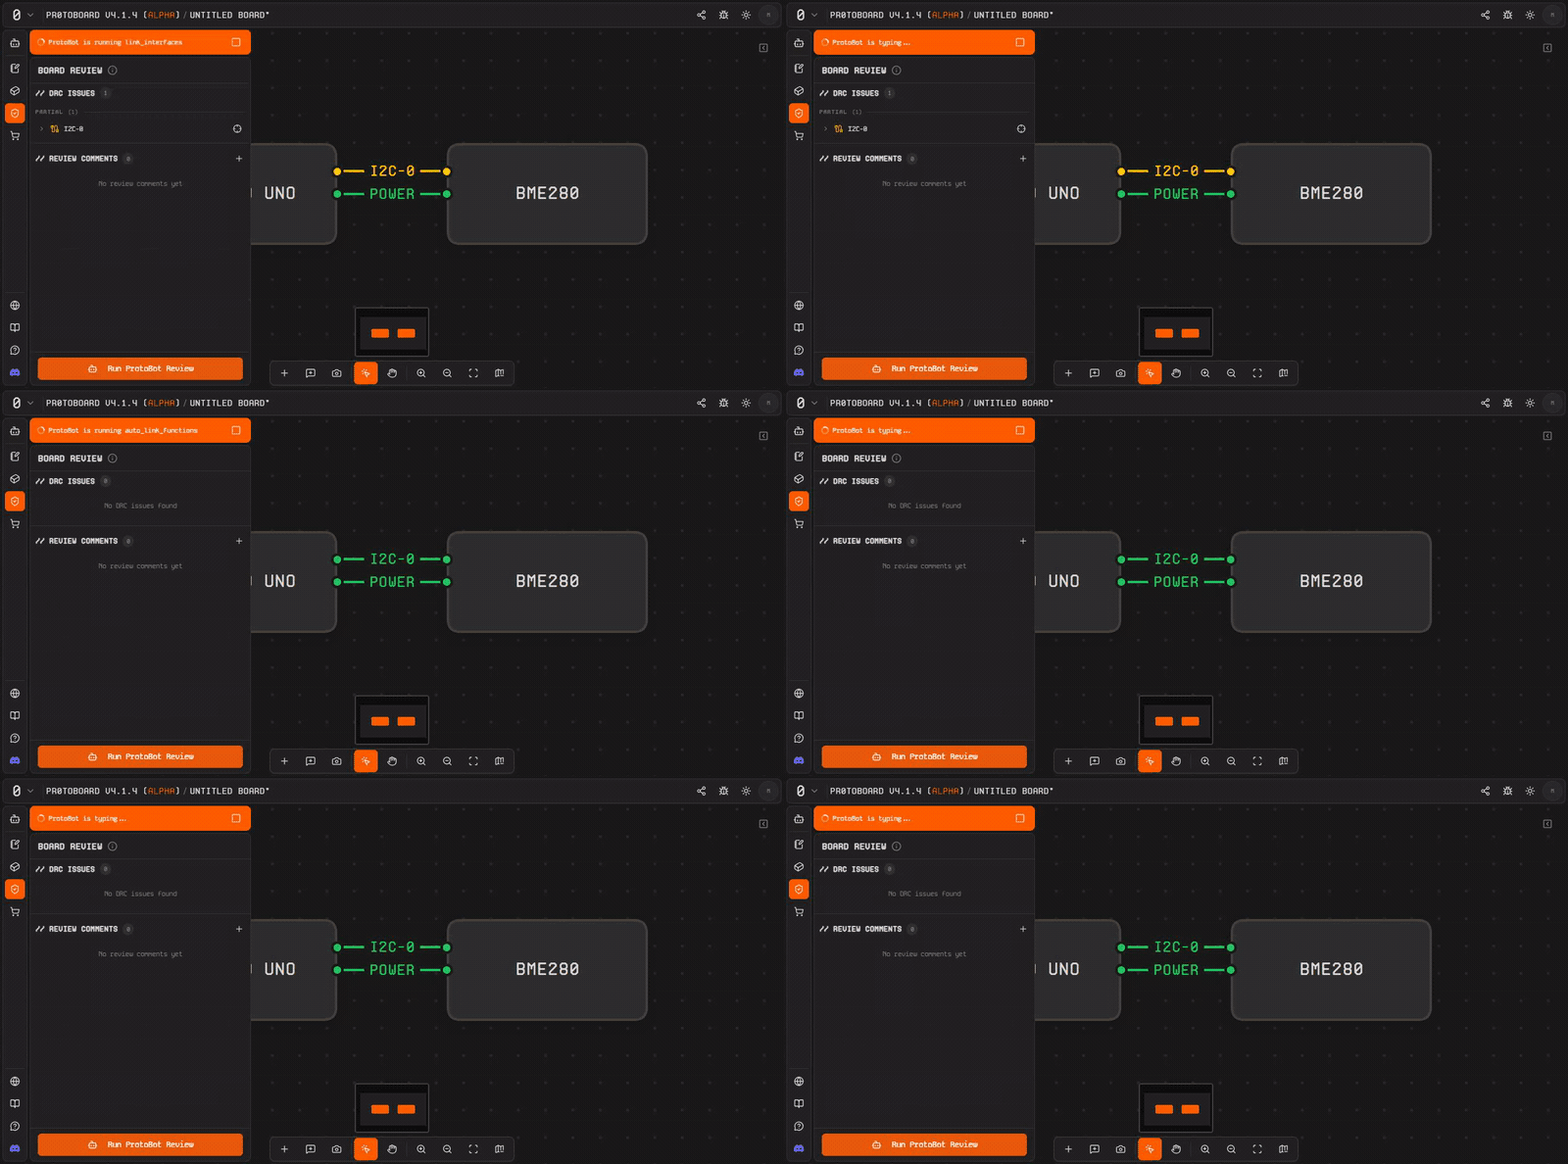
#### Run the Design Rule Check (DRC)

Click the **Board Review** icon (shield icon) in the left activity bar. This opens the validation panel and runs the **DRC**, Protoboard's automated check of every connection on your board.

<figure><img src="https://3535233690-files.gitbook.io/~/files/v0/b/gitbook-x-prod.appspot.com/o/spaces%2FHc6ZGiGpKHrs578383AS%2Fuploads%2Fgit-blob-8f94cab0bbe1b315fd933cb0012805595d0132b4%2Fqs-drc-results.gif?alt=media" alt="Board Review panel showing one DRC issue (PARTIAL) with I2C and Power harnesses visible on the canvas in dark mode"><figcaption><p>Board Review flagging a partial I2C connection that needs resource allocation</p></figcaption></figure>

Each connection will show one of these states:

* **CONFIGURED** (green): Everything looks good.
* **PARTIALLY\_CONFIGURED** (amber): Some functions are mapped but others still need attention.
* **NOT\_CONFIGURED** (red): The interface link exists but no functions are mapped yet.
* **INCOMPATIBLE** (red): The parts cannot connect this way.

{% hint style="warning" %}
**Don't panic if you see amber or red.** Treat validation output as a to-do list, not a failure report. The next step will help you resolve issues.
{% endhint %}
{% endstep %}

{% step %}

#### Fix any issues

If the DRC flags issues (for example, the I2C connection needs **resource allocation**, mapping specific pins on the Arduino to the I2C functions), you have two options:

{% tabs %}
{% tab title="Let ProtoBot handle it" %}
Open **ProtoBot** (the AI icon in the left activity bar) and ask it to resolve the flagged issues. ProtoBot has over 70 specialized tools and can auto-allocate resources, suggest fixes, and even add adapter components if needed.
{% endtab %}

{% tab title="Fix manually" %}
Select the harness on the canvas, open the **Inspector** panel, and use the interface link detail view to assign resources and functions yourself. This gives you full control over which pins and signals are used.
{% endtab %}
{% endtabs %}

Re-run the DRC after making changes. Your goal is all green: **CONFIGURED** across the board.
{% endstep %}

{% step %}

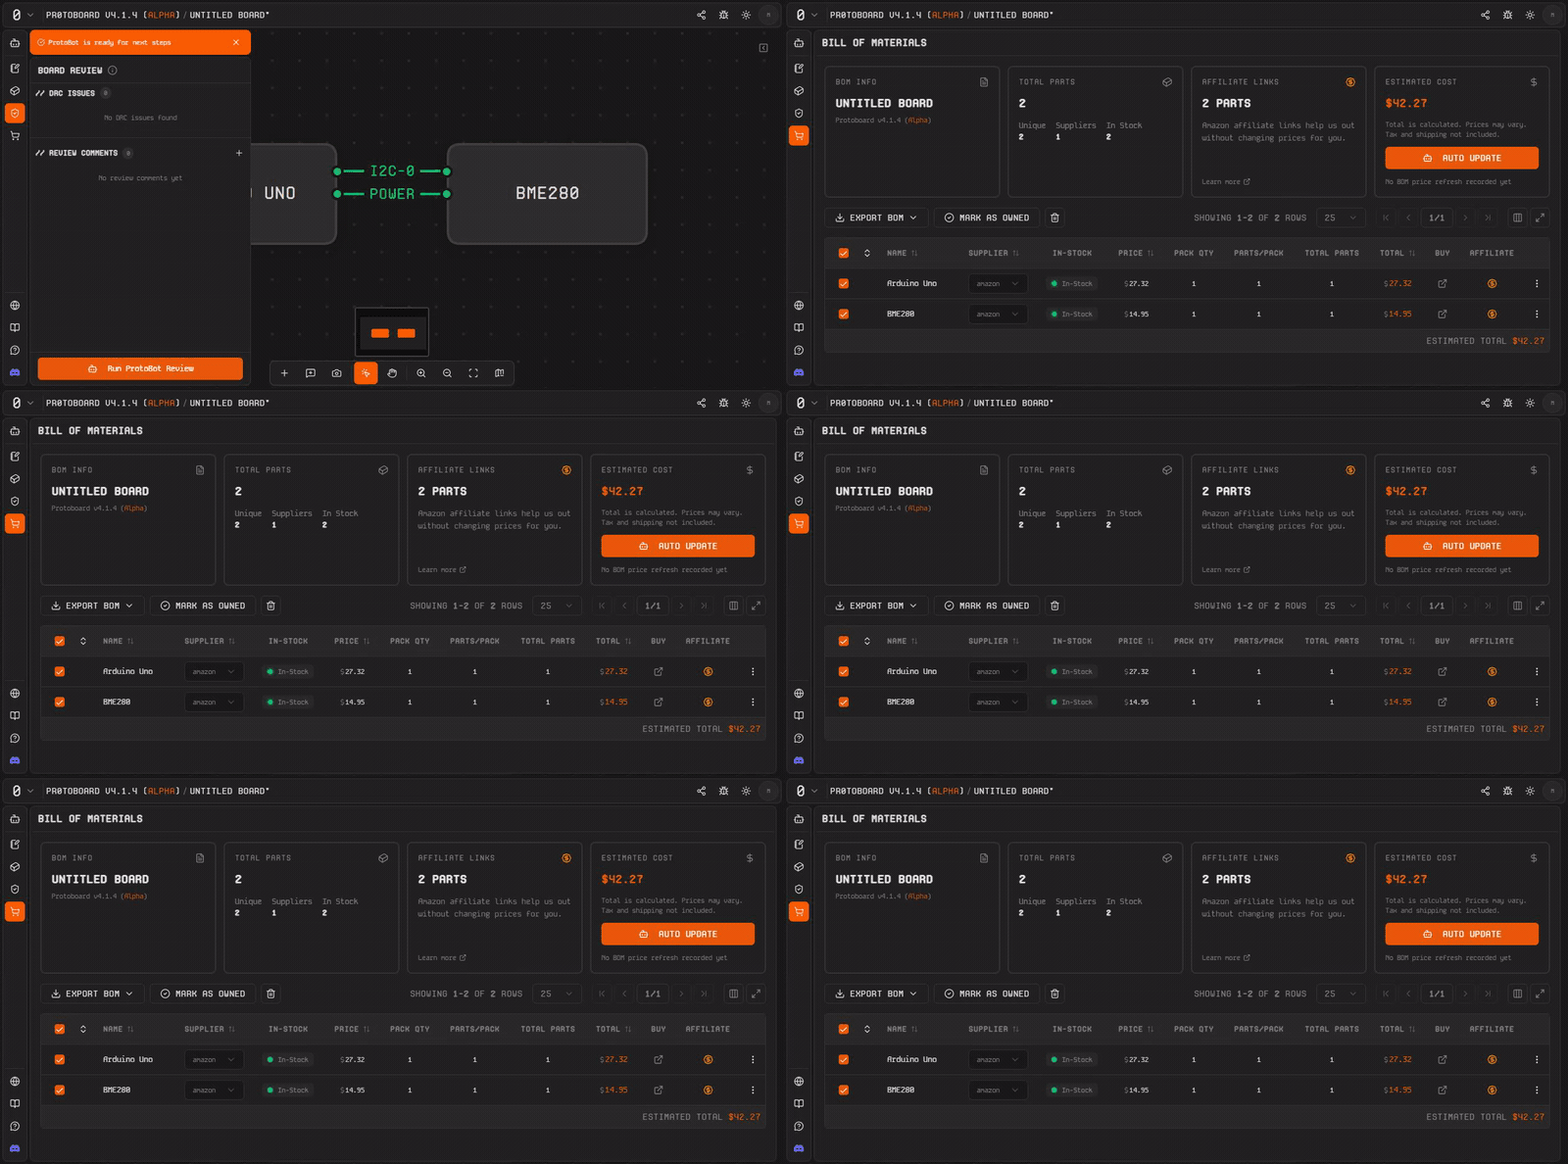
#### Review your Bill of Materials

Open the **BOM** panel by clicking the cart icon in the left activity bar. You will see a list of every part in your design (in this case the Arduino Uno Rev3 and the BME280) along with cost estimates and supplier information where available.

<figure><img src="https://3535233690-files.gitbook.io/~/files/v0/b/gitbook-x-prod.appspot.com/o/spaces%2FHc6ZGiGpKHrs578383AS%2Fuploads%2Fgit-blob-b2afd9138bd8a23f97bc619825f943305bd8fd89%2Fqs-bom.gif?alt=media" alt="Bill of Materials panel showing Arduino Uno Rev3 and BME280 Sensor with prices and supplier info"><figcaption><p>Bill of Materials with both parts, prices, and export options</p></figcaption></figure>

From here you can:

* **Export to CSV or PDF** for purchasing or documentation
* **Share** your board with teammates using the share button in the top bar

{% hint style="success" %}
**Congratulations!** You have completed one full **Build, Validate, Fix, Ship** cycle. Your design is validated and your parts list is ready.
{% endhint %}
{% endstep %}
{% endstepper %}

***

## What you just learned

| Concept            | What it means                                                   |
| ------------------ | --------------------------------------------------------------- |
| **Board**          | Your project workspace on the canvas                            |
| **Part**           | A component like the Arduino or BME280                          |
| **Harness**        | The logical connection bundle between two parts                 |
| **Interface Link** | A pairing of compatible interfaces (e.g., I2C to I2C)           |
| **DRC**            | The automated design rule check that validates your connections |
| **BOM**            | The bill of materials listing every part you need to buy        |

***

## Common gotchas

<details>

<summary>I see "PARTIALLY_CONFIGURED" on my I2C connection</summary>

This usually means some function links (like VCC or GND) have not been mapped yet. Select the harness, open the Inspector, and assign the missing functions. Or ask ProtoBot to auto-allocate.

</details>

<details>

<summary>The DRC shows "INCOMPATIBLE"</summary>

The two interfaces cannot connect directly. Check whether you have the right parts selected. If the parts are correct, Protoboard may suggest an **adapter** component to bridge the gap.

</details>

<details>

<summary>I cannot find a part in the Parts Bin</summary>

Try different search terms (e.g., "BME280" instead of "Bosch BME280"). If the part is not in the library, you can create a **blank part** and define its interfaces and resources manually using the Inspector.

</details>

***

## Next steps

* [**Core Workflow**](/start-here/core-workflow.md): Understand the full Build, Validate, Fix, Ship loop in depth
* [**Connections and Compatibility**](/user-guide/connections-and-compatibility.md): Learn how interface matching and resource assignment work
* [**Glossary**](/start-here/glossary.md): Look up any term you encountered in this guide


---

# Agent Instructions
This documentation is published with GitBook. GitBook is the documentation platform designed so that both humans and AI agents can read, navigate, and reason over technical content effectively. Learn more at gitbook.com.

## Querying This Documentation
If you need additional information that is not directly available in this page, you can query the documentation dynamically by asking a question.

Perform an HTTP GET request on the current page URL with the `ask` query parameter, and the optional `goal` query parameter:

```
GET https://docs.protoboard.xyz/start-here/quickstart-10-minutes.md?ask=<question>&goal=<endgoal>
```

`ask` is the immediate question: it should be specific, self-contained, and written in natural language.
`goal` is optional and describes the broader end goal you are ultimately trying to accomplish on behalf of the user. GitBook uses it to tailor the answer towards what is most useful for that goal.

The response will contain a direct answer to the question and relevant excerpts and sources from the documentation.

Use this mechanism when the answer is not explicitly present in the current page, you need clarification or additional context, or you want to retrieve related documentation sections.